Course Reserves allows you to create a batch of records whose status should change from active to inactive, or vice-versa. This can save the library considerable processing time at the beginning and end of each term.
Follow these steps to list records whose active/inactive reserve status should change:
- Change the current mode to Course Reserves.
- Choose Options | Records whose status should change from the dropdown menu.
- Sierra will display a screen similar to the following:
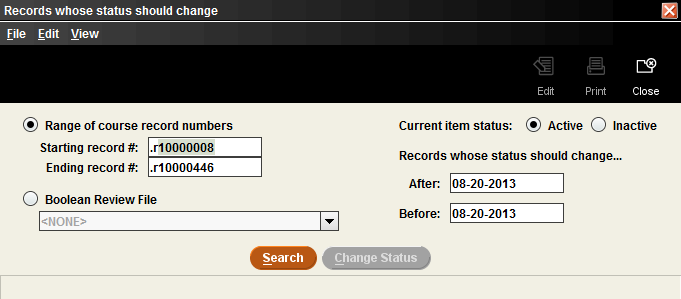
- Specify the group of records you want to review by selecting one of the following options:
- Choose Range of course record numbers: Specify a range of course record numbers.
- Boolean Review File: Select a review file of course records from the drop-down list. You will need to log into the Create Lists function to create or see your review files. Libraries using Course Reserves in a consortial setting, should create review files of the courses belonging to each library separately, based on the location codes, or course codes, or a combination.
- Under the Current Item Status option, choose to view records whose status is currently Active or Inactive.
- Under the Records whose status should change option, use the After and Before boxes to specify the date(s) during which the status of the records should change. To specify a single day, enter the same date in both boxes.
- Choose Search to display the records that match the Course Reserves criteria you specified. Sierra will display the matching item and bibliographic records and the following information for each record:
- Course: The name of the course to which the record is assigned.
- Active Until or Inactive Until: The date until the record should be active or inactive.
- Call Number: The record's call number.
- Location: The location to which the record belongs.
- Recnum: The record number of the record.
- Title: The title of the record.
- You can perform the following tasks for the displayed records:
- View a selected record by choosing View | Item or View | Bibliographic, or choose the View icon.
- Print the table by choosing Print Table (Standard Printer) or choose the Print icon.
- Change the status of the selected records.
- When you are finished, choose File | Close or the Close icon to return to the previous screen.